Google Project setup
This guide will show you how to set up a Google Project and create credentials that will work for sa-gen or similar tools.
It's assuming you're working through the steps from here and have completed the following steps:
- verified account drive permissions
This guide is assuming you are using a standard GSuite Business or GSuite Workspace account.
IF YOU HAVE DONE THIS BEFORE IN ANY OTHER CONTEXT (CLOUDBOX, PTS, ETC.), THERE IS NO REASON TO REPEAT IT. You only need one of these projects.
-
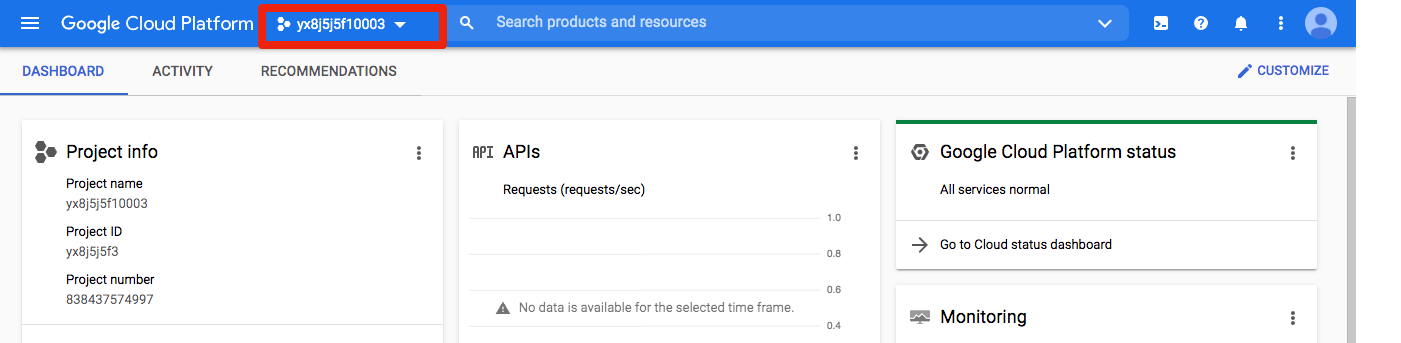
Open Google APIs Console site: https://console.developers.google.com and login with your Google account.
Click on the project or organization at the top:
-
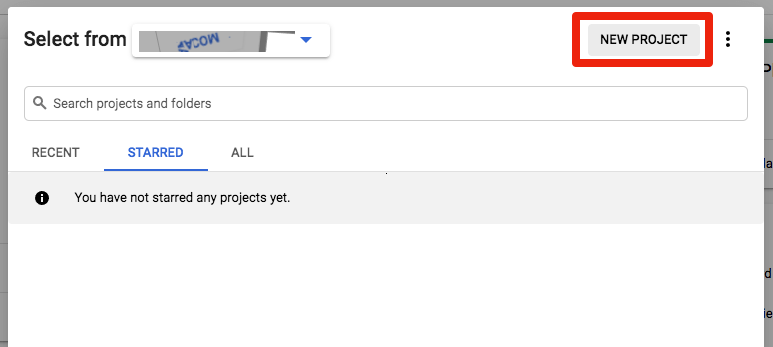
Click "New Project":
-
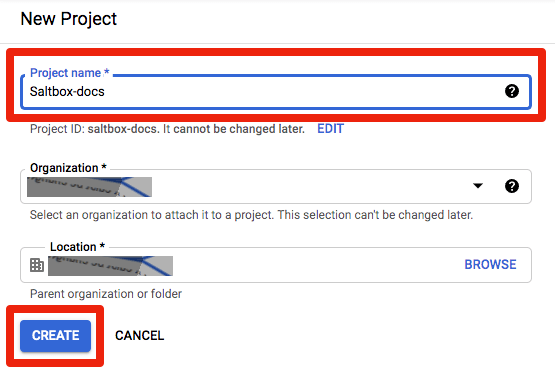
Name the project. Click "Create".
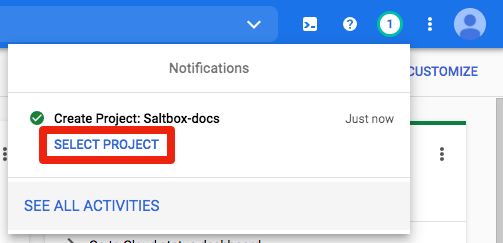
You'll see a progress dialog, when it's complete, click "Select Project"
-
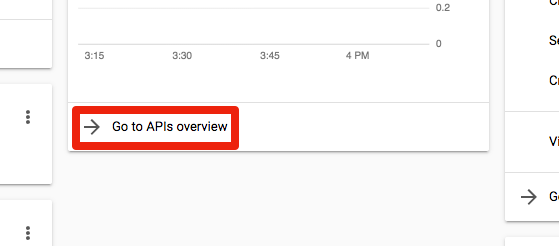
Click "Go to APIs overview".
-
Click "ENABLE APIS AND SERVICES" at the top.
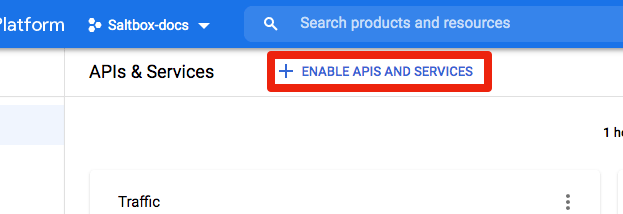
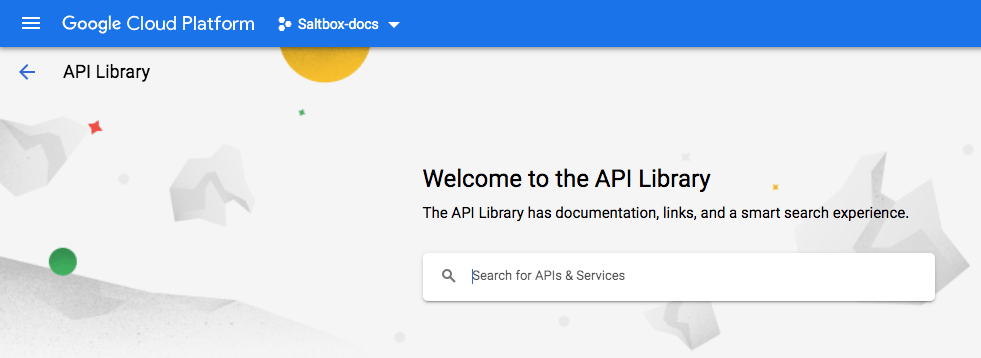
You'll be taken to the "API Library":
-
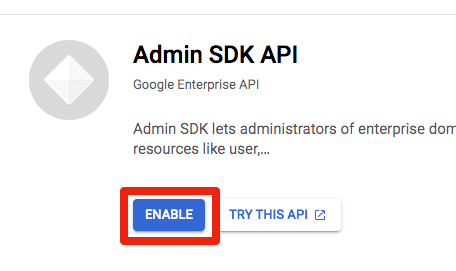
Search for "Admin". Click "Admin SDK API".

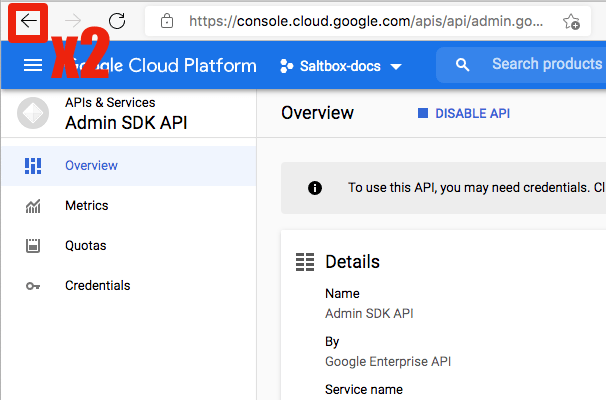
Click the button to enable the API:
You'll go to a API Overview page. Click the browser back button twice:
Repeat this process for six more APIs:
- Google Drive API
- Identity and Access Management (IAM) API
- Cloud Resource Manager API
- Service Usage API
- Service Management API
- Google Sheets API
You may find that some of these APIs have been enabled already as dependencies of others, like Service Management here:
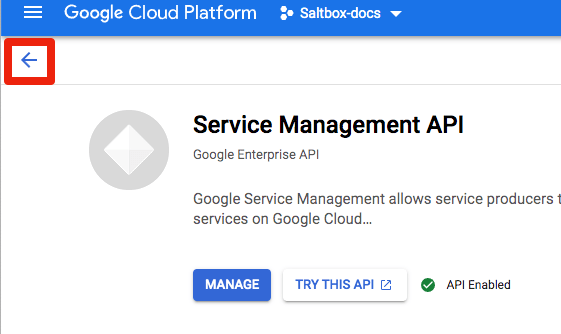
In that case, click the website back arrow once and move on to the next one.
-
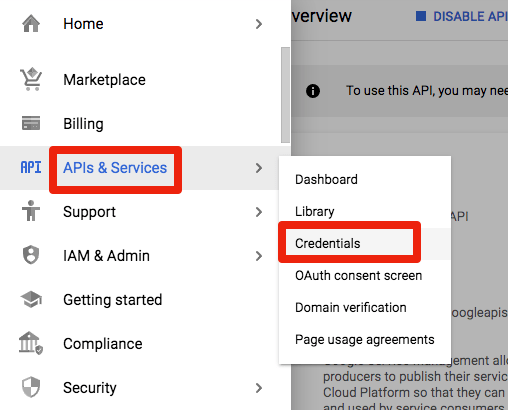
Now click "APIS and Services" then "Credentials" in the left column to go to the credentials dash:
-
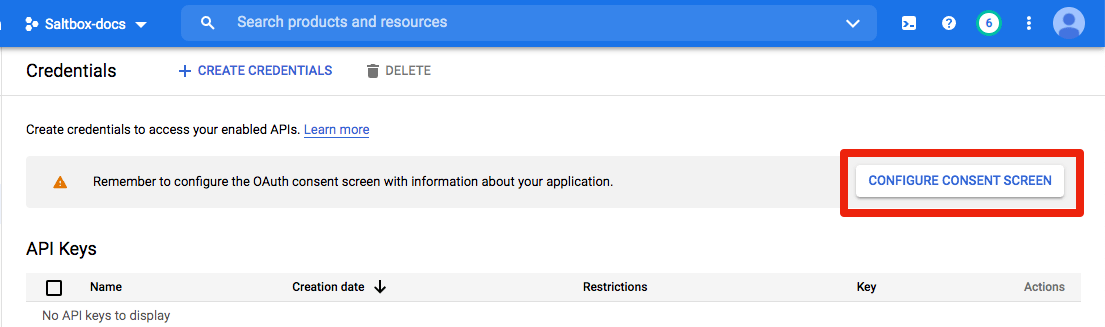
Click "Configure consent screen" over on the right:
-
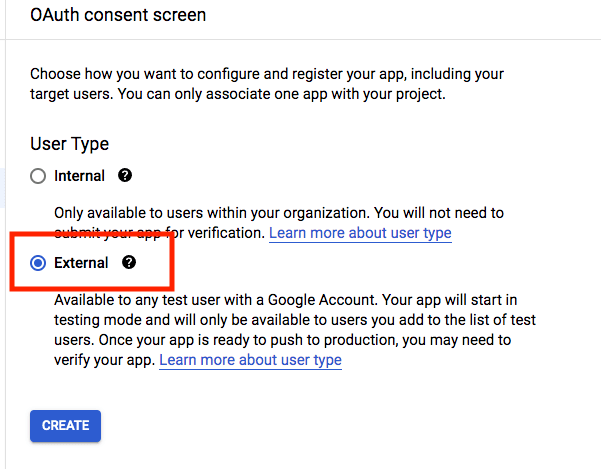
Choose "External" user type and click "Create":
-
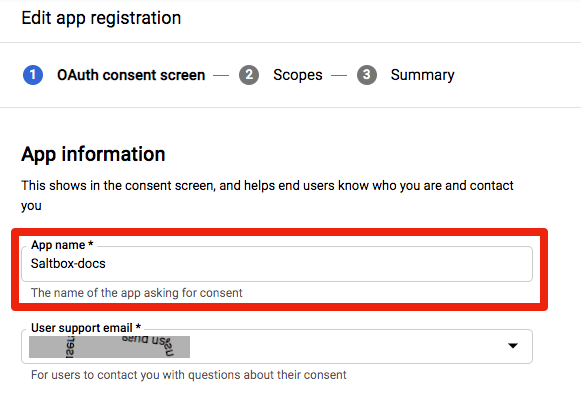
On this screen:
- type in the App Name (e.g. Rclone)
- Enter a "User support email"
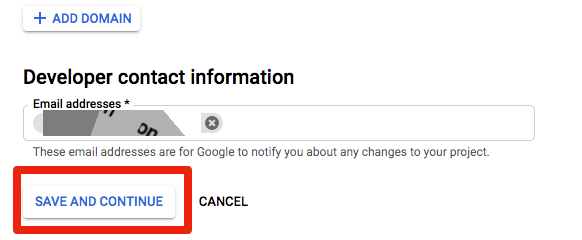
- Scroll to the bottom
- Enter an email address under "Developer contact information"
- Click "SAVE AND CONTINUE".
-
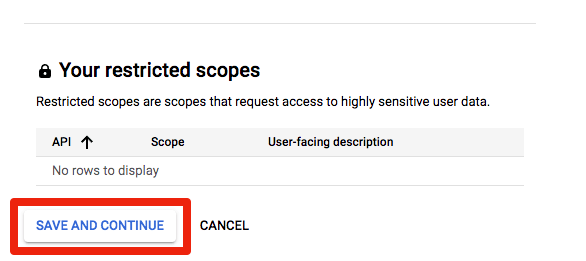
Click "SAVE AND CONTINUE" on the scopes screen:
-
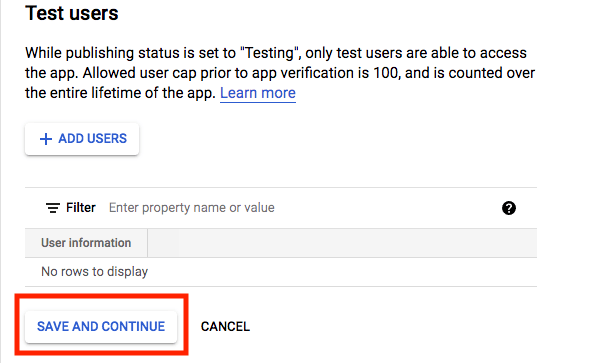
Click "SAVE AND CONTINUE" on the test users screen:
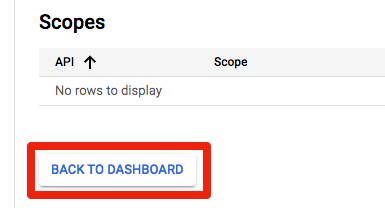
And "BACK TO DASHBOARD" on the final summary:
-
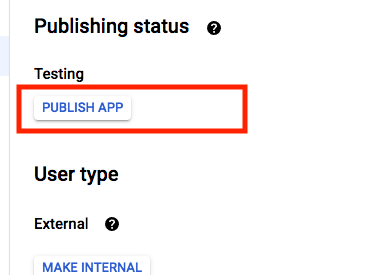
Click "PUBLISH APP" on the dashboard :
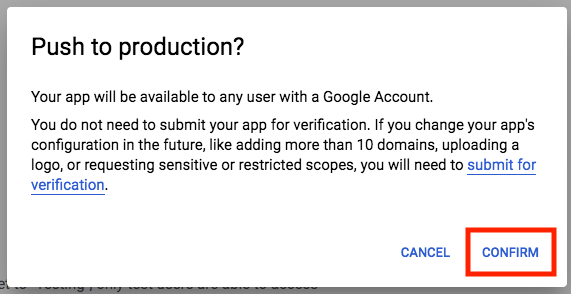
Then "CONFIRM":
-
Click "Credentials" in the sidebar:
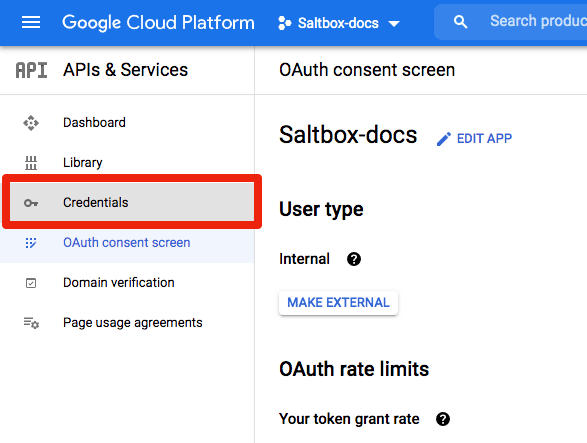
-
Click "Create Credentials", then "OAuth client ID":
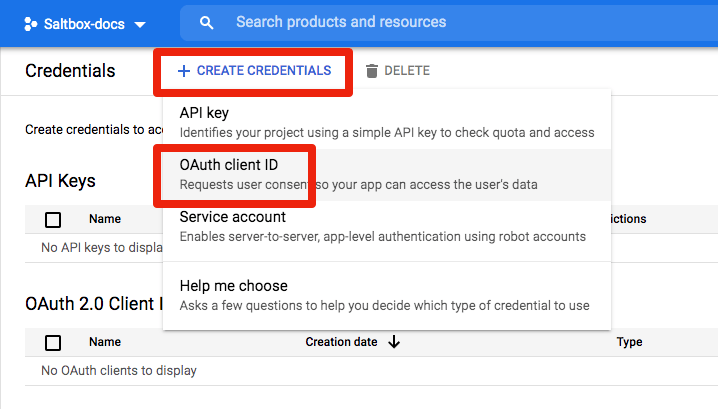
-
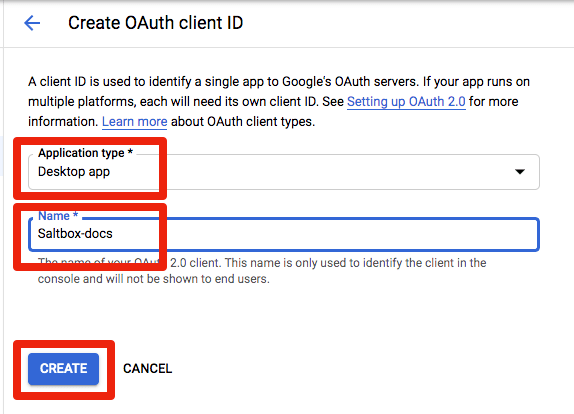
Choose "Desktop App", give the app a name, and click "CREATE":
-
You'll be presented with the Client ID and Secret. Copy and save them somewhere; you may need them to configure other tools later. Click on "DOWNLOAD JSON" to download the credential file:

Later on, I'm going to assume you put it on the saltbox server in /opt/sa/ and named it project-creds.json.
To do that you may need to create /opt/sa and make sure it's writable by you.
How do I do that?
sudo mkdir -p /opt/sa
sudo chown -R <user>:<group> /opt/sa
If you are going through the manual rclone instructions, continue with the next step