Google Service Accounts
| Description / name | Input element |
|---|---|
| Your domain name |
This guide will show you how to create projects and service accounts using sa-gen and add them to a Google Group.
It's assuming you're working through the steps from here and have completed the following steps:
- verified account drive permissions
- created the required project
- created the required group
- installed the gcloud SDK tools
NOTE: This guide is assuming a Google Gsuite Business/Workspace account.
IF YOU HAVE DONE THIS BEFORE, THERE IS NO REASON TO REPEAT IT. USE THE SAME 300 SERVICE ACCOUNTS CREATED THE FIRST TIME.
IF YOU HAVE SERVICE ACCOUNTS CREATED IN ANOTHER CONTEXT (CLOUDBOX, PTS, ETC.) YOU CAN USE THOSE. THERE IS NO REQUIREMENT TO CREATE MORE.
sa-gen has recently (May 2023) changed; these instructions are assuming the older version, and the paths and commands below have been updated to reflect that.
IMPORTANT: Google has made changes to the service account infrastructure on their side. When running this script you may see a message like:
A quota has been reached for project number PROJECT_NUMBER: Service accounts created per minute per project.
150.json; if that one is empty either copy another one to that name or change the config in the final step to use a file that is present.
-
Create /opt/sa and make sure it's writable by you.
sudo mkdir -p /opt/sa
sudo chown -R <user>:<group> /opt/sa
What do I put in for `user` and `group`?
Enter the user name that you entered in `accounts.yml`; group is the same as the user. Don't enter the `<` and `>`.
---
user:
    name: seed #   <<< THIS VALUE
...
~ id
uid=1000(marco) gid=1000(marco) groups=1000(marco),...
            ^<user>         ^<group>
-
Verify that the google project has the right APIs enabled:
(copy-paste this into your terminal window)
gcloud services list --enabledYou should see:
NAME                                 TITLE
admin.googleapis.com                 Admin SDK API
bigquery.googleapis.com              BigQuery API
bigquerystorage.googleapis.com       BigQuery Storage API
cloudapis.googleapis.com             Google Cloud APIs
clouddebugger.googleapis.com         Cloud Debugger API
cloudresourcemanager.googleapis.com  Cloud Resource Manager API
cloudtrace.googleapis.com            Cloud Trace API
datastore.googleapis.com             Cloud Datastore API
drive.googleapis.com                 Google Drive API
iam.googleapis.com                   Identity and Access Management (IAM) API
iamcredentials.googleapis.com        IAM Service Account Credentials API
logging.googleapis.com               Cloud Logging API
monitoring.googleapis.com            Cloud Monitoring API
servicemanagement.googleapis.com     Service Management API
serviceusage.googleapis.com          Service Usage API
sheets.googleapis.com                Google Sheets API
sql-component.googleapis.com         Cloud SQL
storage-api.googleapis.com           Google Cloud Storage JSON API
storage-component.googleapis.com     Cloud Storage
storage.googleapis.com               Cloud Storage API
If any of these are missing from your list, go back to the project setup and add all the APIs shown there to the project.
-
Retrieve the
sa-gencode(copy-paste this into your terminal window)
cd /opt && git clone https://github.com/88lex/sa-gen && cd sa-gen/old -
Edit the
sa-genscript:(copy-paste this into your terminal window)
nano sa-gen_2022Edit the beginning of the script as indicated by
<<<<below:For these edits, you will need: the "Organization ID" from gcloud SDK step, the full email address of the group you created a couple steps ago, and the prefix you generated earlier.
#!/bin/bash
# Running this script requires gcloud command line tools. To install go to https://cloud.google.com/sdk/docs/quickstarts
# See readme.md to understand the variables used in this script

KEYS_DIR=/opt/sa/all
ORGANIZATION_ID="123456789098"     <<<< organization ID from gcloud SDK step
GROUP_NAME="mygroup@yourdomain.tld"  <<<< the group [full email address as shown] you created previously
PROJECT_BASE_NAME="mgbtbnfkkt"     <<<< the prefix you generated previously
FIRST_PROJECT_NUM=1
LAST_PROJECT_NUM=3
SA_EMAIL_BASE_NAME="mgbtbnfkkt"    <<<< the prefix you generated previously
FIRST_SA_NUM=1
NUM_SAS_PER_PROJECT=100
...
Save the file with control-x, y, enter
-
Run the
sa-genscript:./sa-gen_2022sa-gen_2022will create three projects, 300 SAs, and download them to/opt/sa:Total SA json keys before running sa-gen = 0 Creating project = mgbtbnfkkt1 ++ gcloud projects create mgbtbnfkkt1 --organization= Create in progress for [https://cloudresourcemanager.googleapis.com/v1/projects/mgbtbnfkkt1]. Waiting for [operations/cp.5950654100828535641] to finish...done. Enabling service [cloudapis.googleapis.com] on project [mgbtbnfkkt1]... Operation "operations/acf.p2-672393700722-9443eda2-69db-46a9-8952-5cdaa3b6ed2f" finished successfully. ++ set +x ... Total SA json keys BEFORE running sa-gen = 0 Total SA json keys AFTER running sa-gen = 300 Total SA jsons CREATED = 300 -
Download the
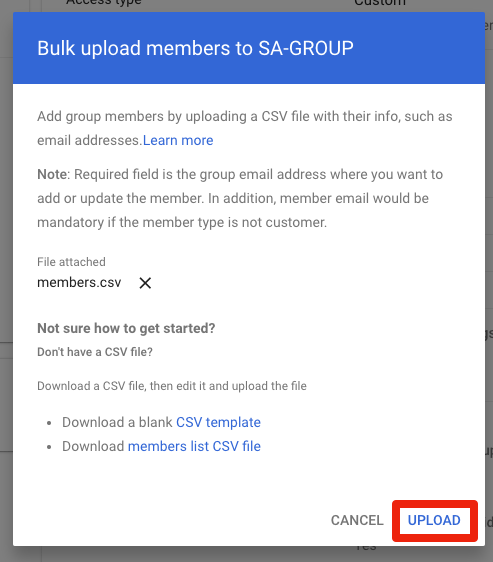
members.csvfile that sa-gen created next to the service account files to your local computer using sftp or whatever other means.
-
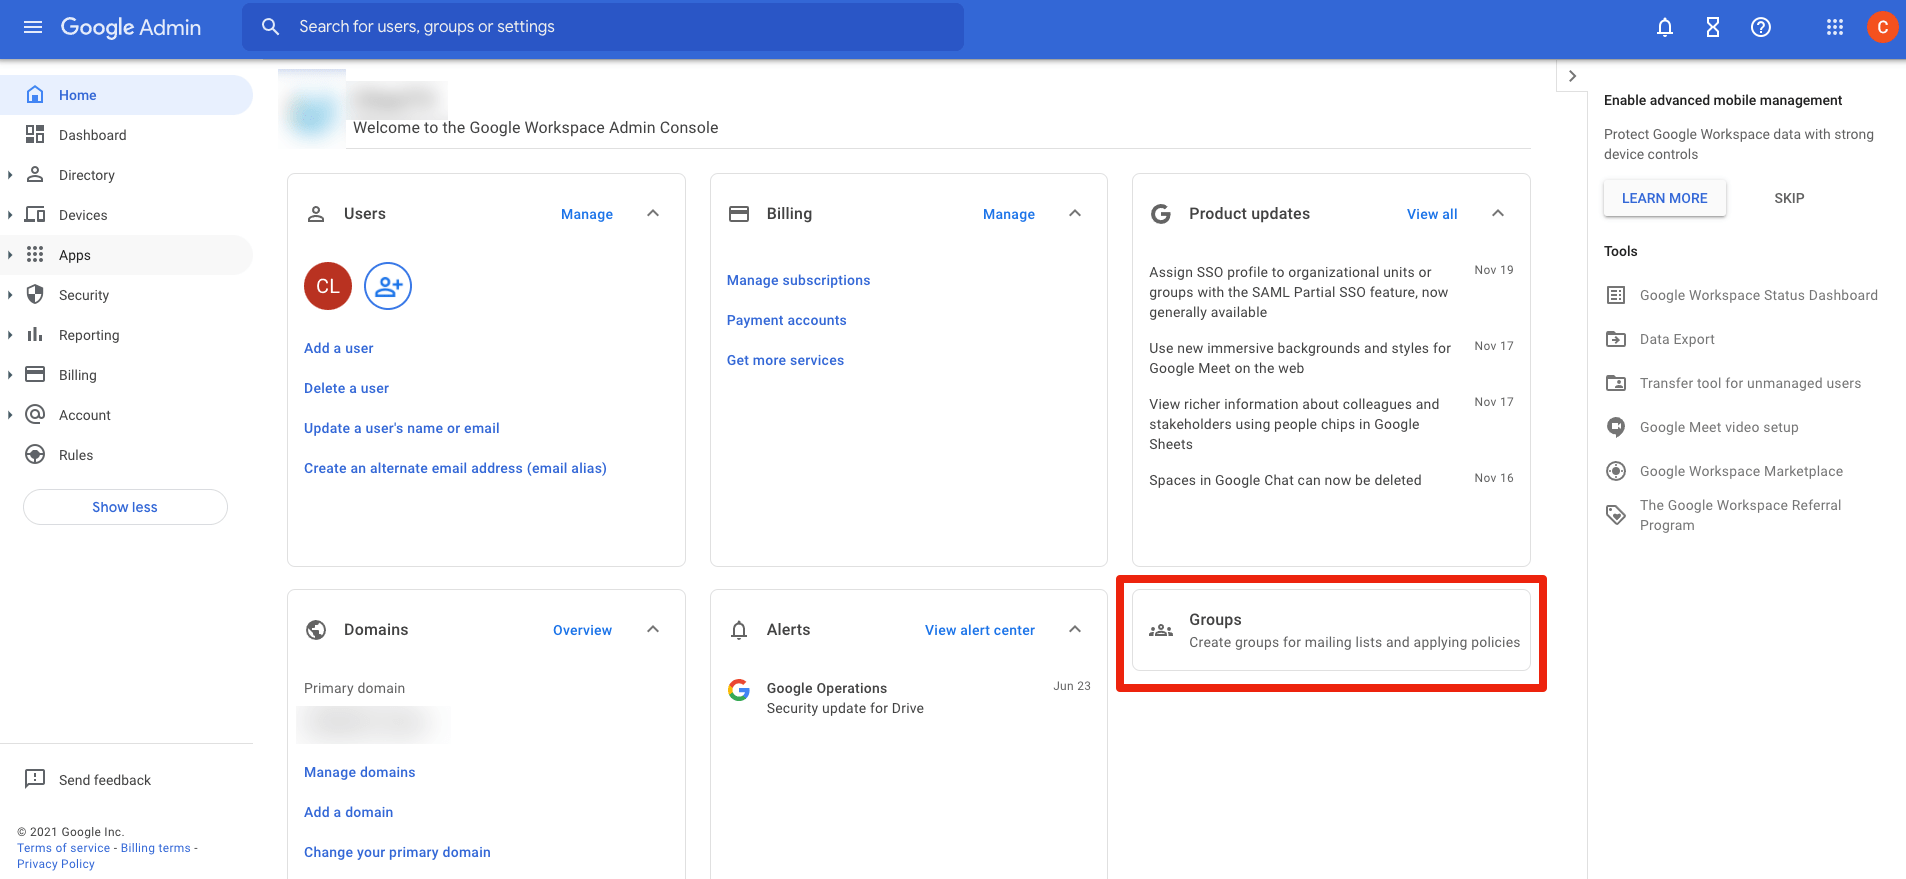
Open the Google Admin site: https://admin.google.com/ and login with your Google account. Click on the groups heading:
-
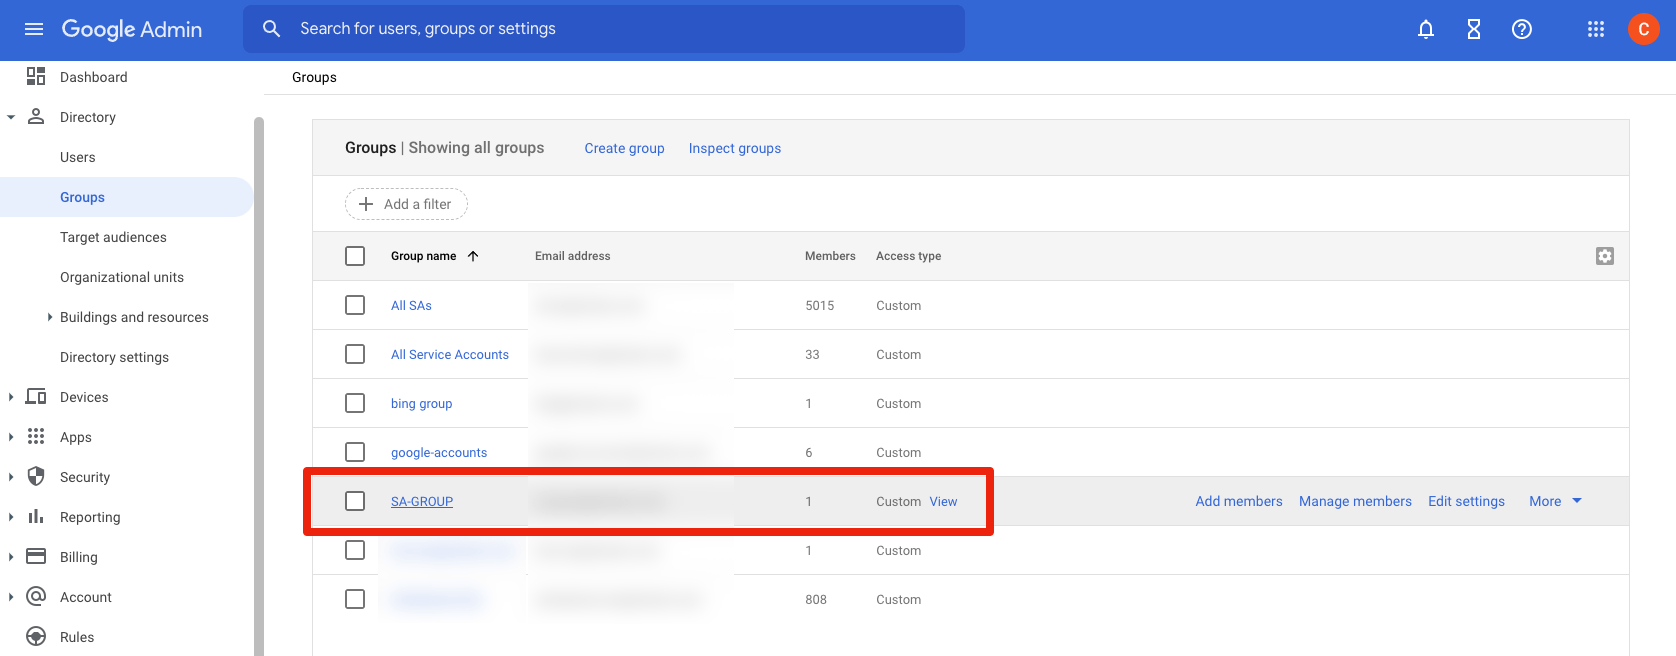
Click on your group:
-
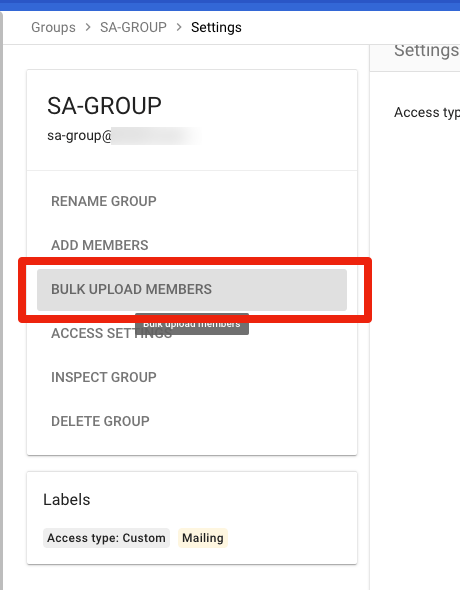
Click on "BULK UPLOAD MEMBERS":
-
Click on "ATTACH CSV", and find the
members.csvyou downloaded a moment ago: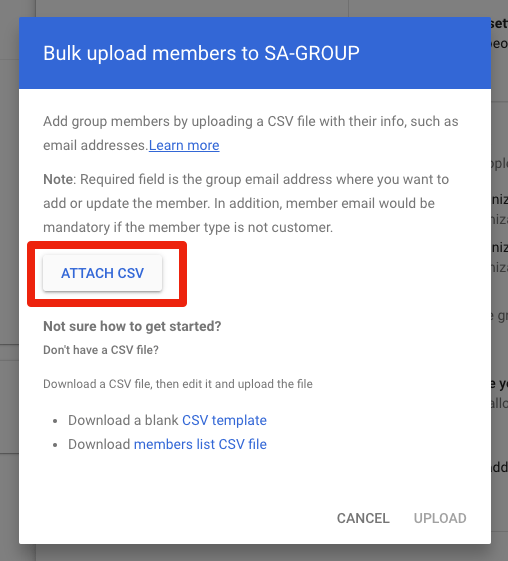
-
Click "UPLOAD". Status will appear in the upper right:
-
You're done.
Warning
If you see errors that leave some of the service account JSON files empty, the simplest thing to do is to jsut delete those empty files and carry on. 300 was overkill even when this was a useful setup, so 240 or so will be more than sufficient now.
If you are going through the manual rclone instructions, continue with the next step